Sarmiento Wedding – Guestbook DIY

One of my besties just got married!!

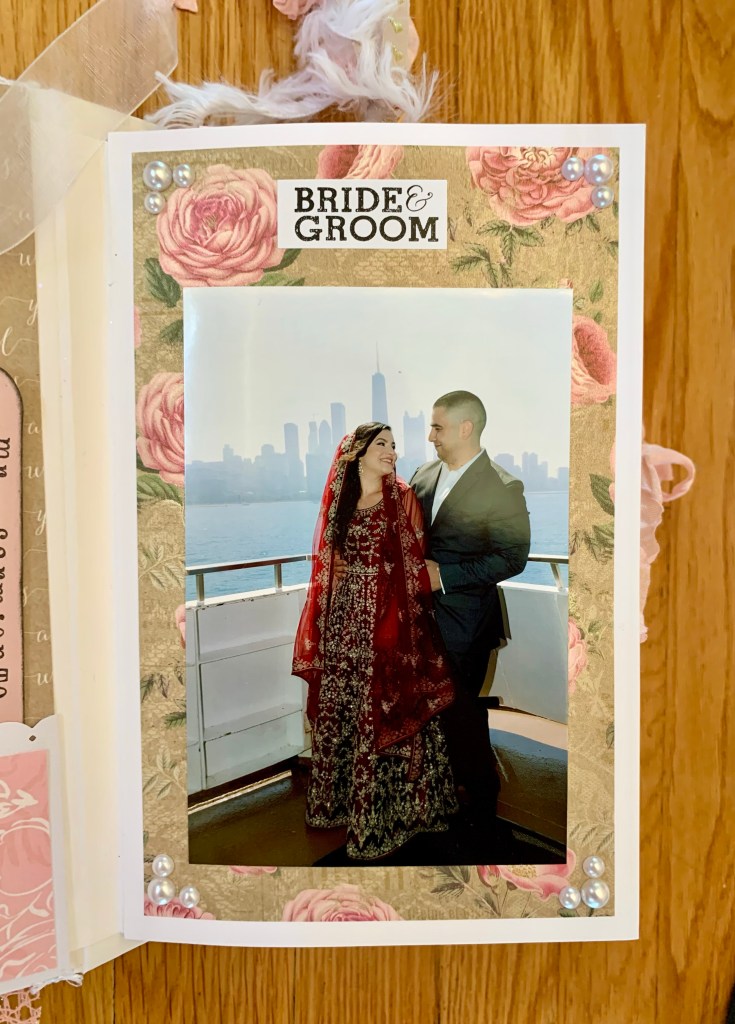
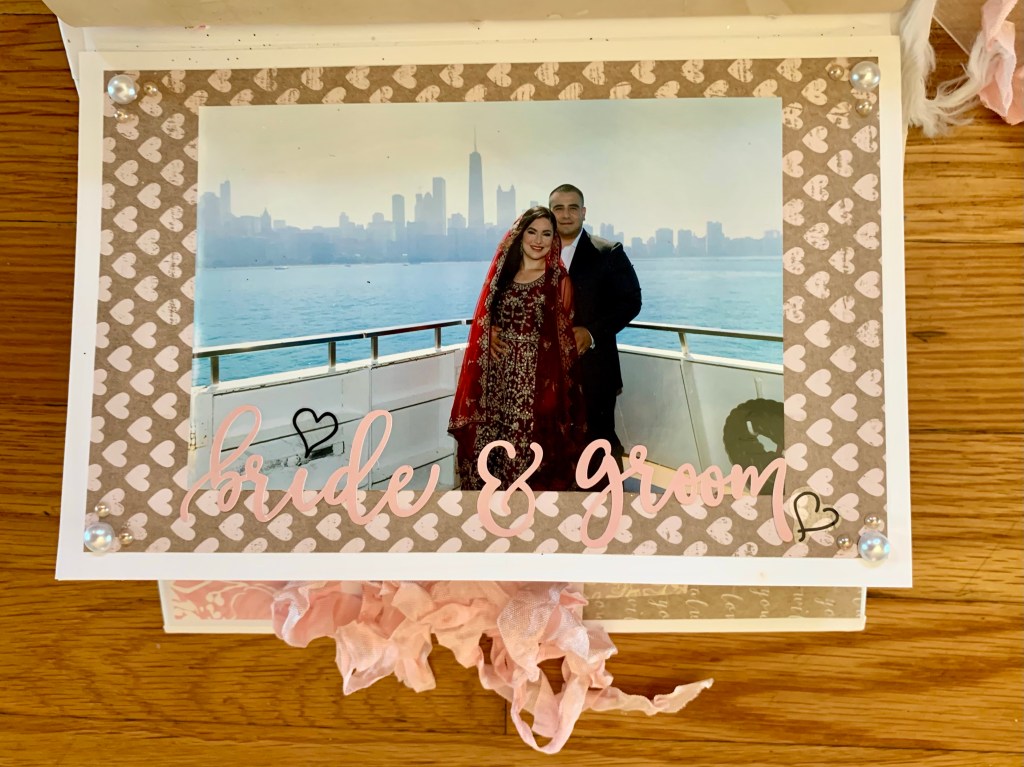
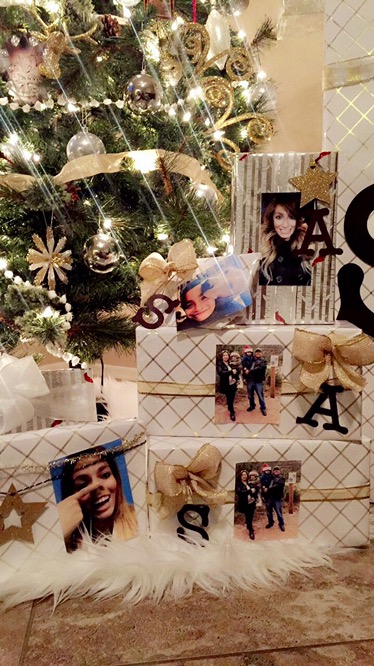
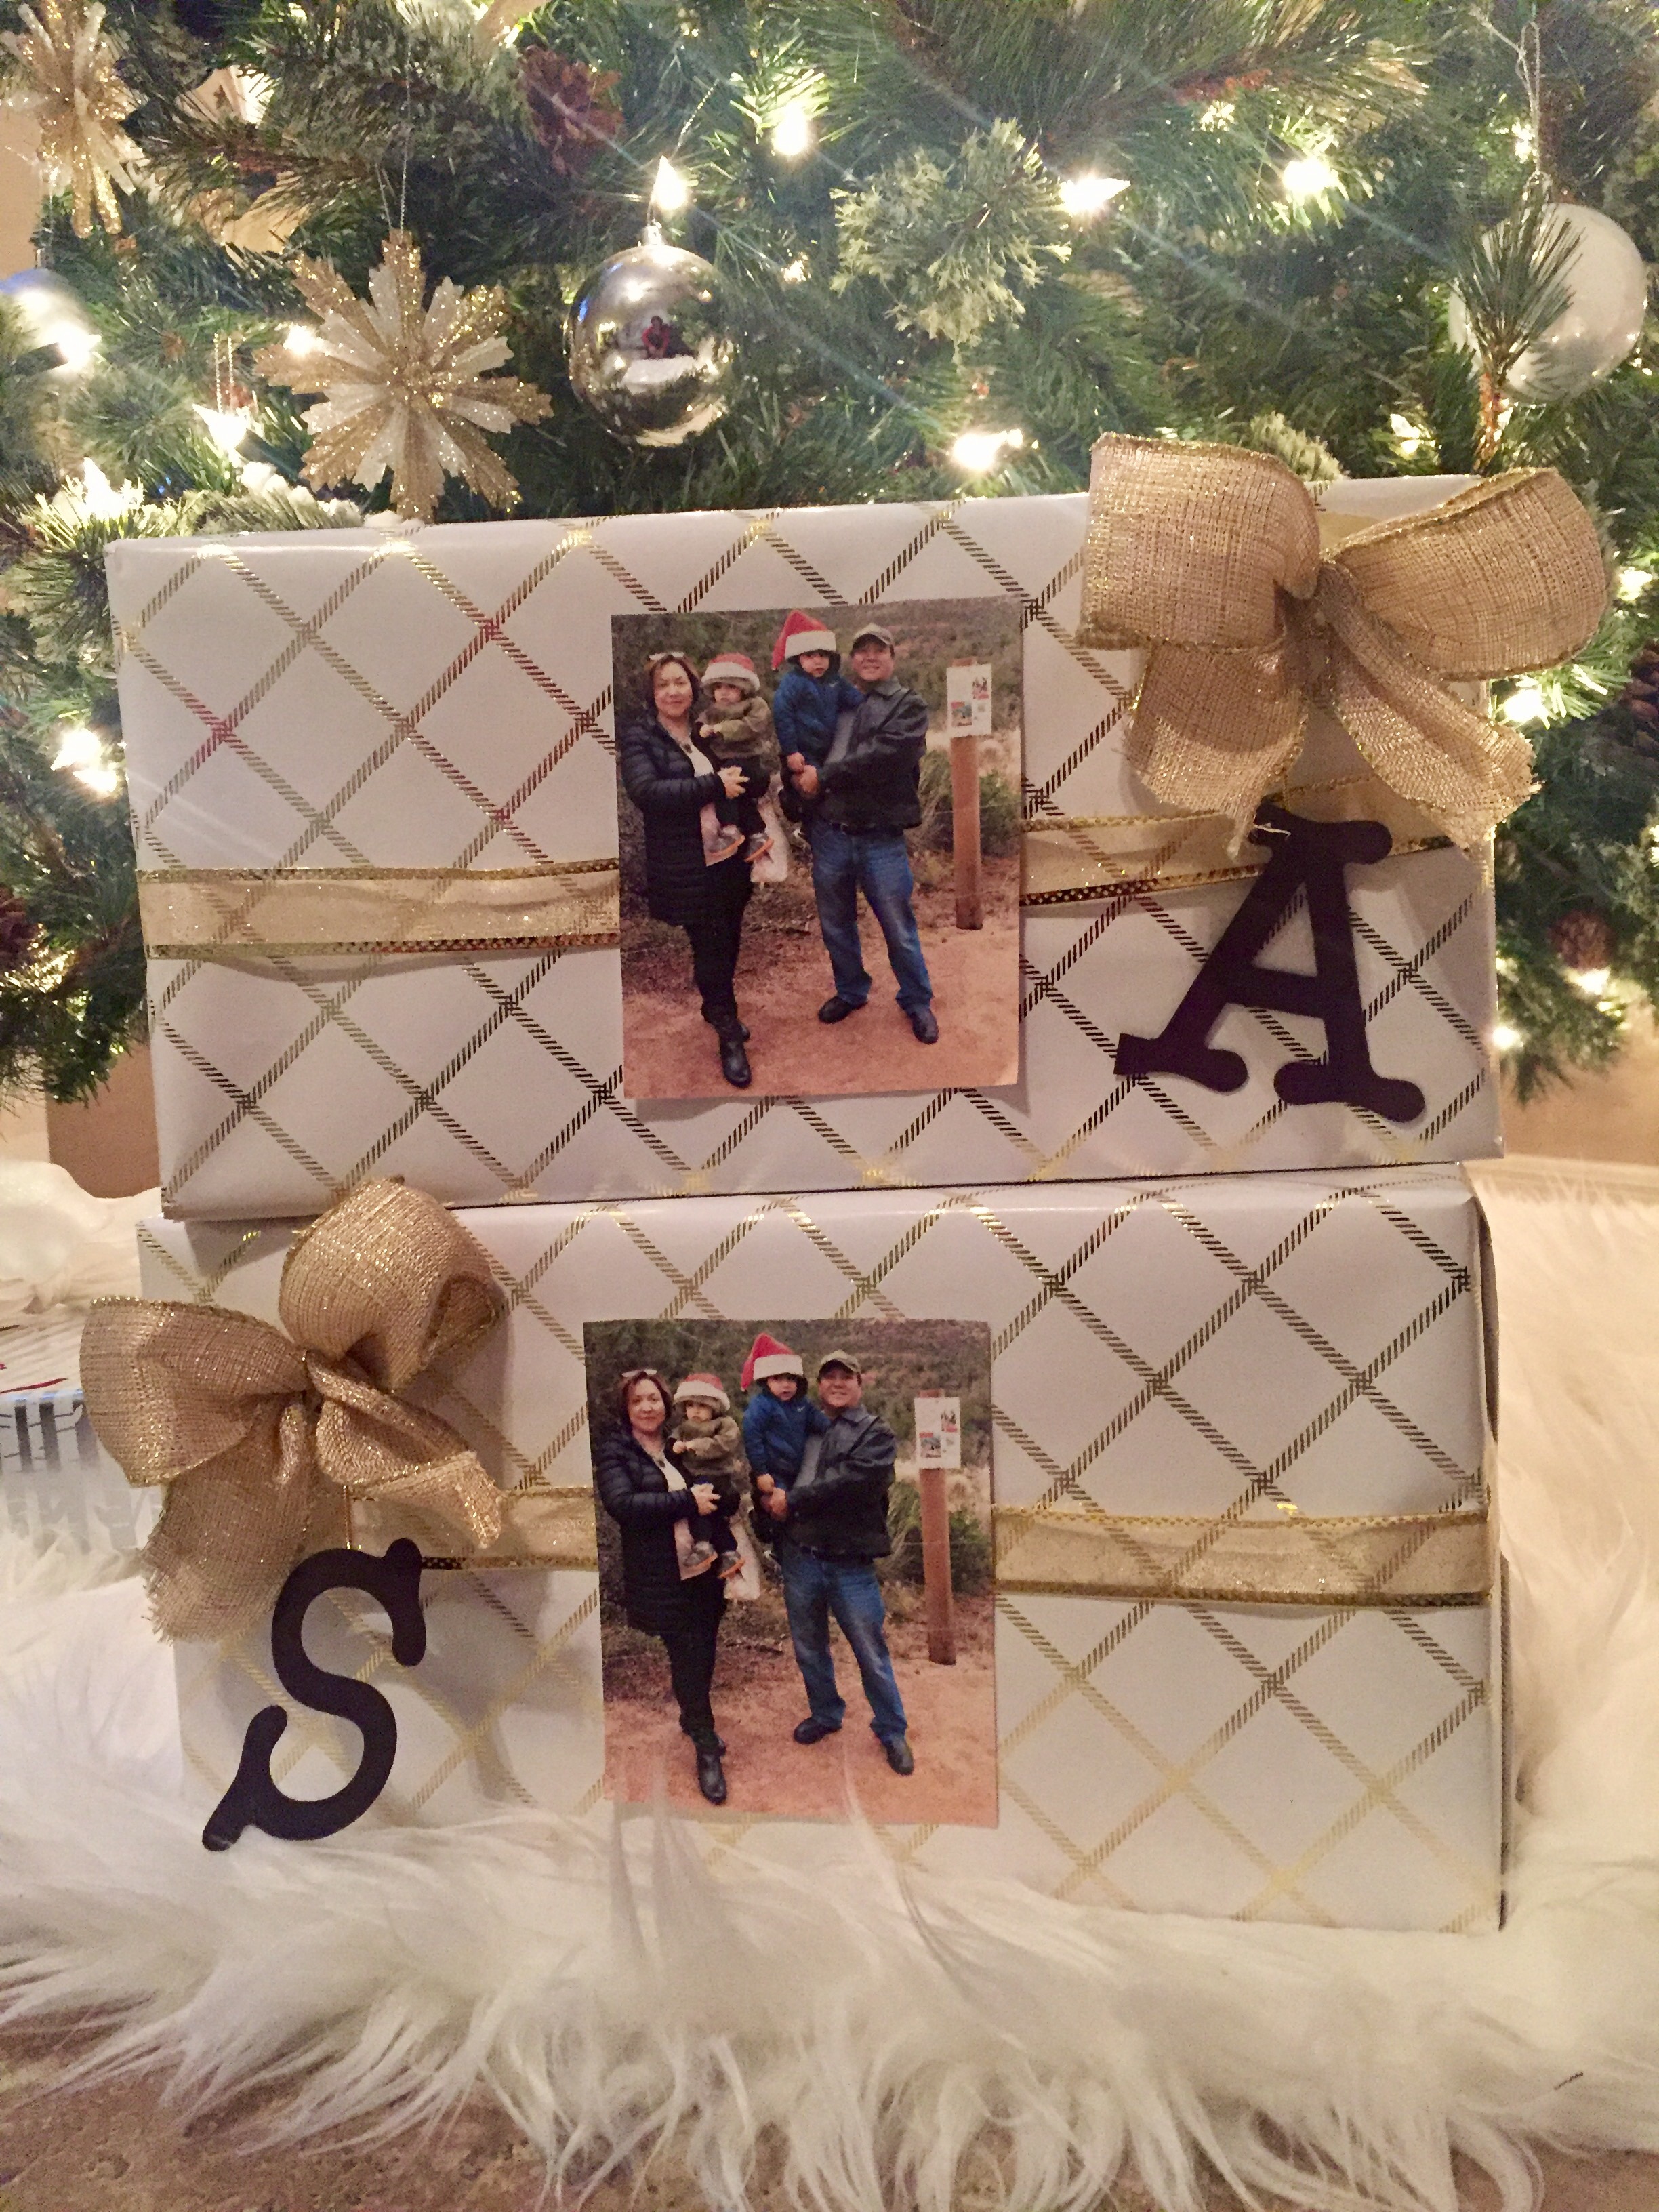
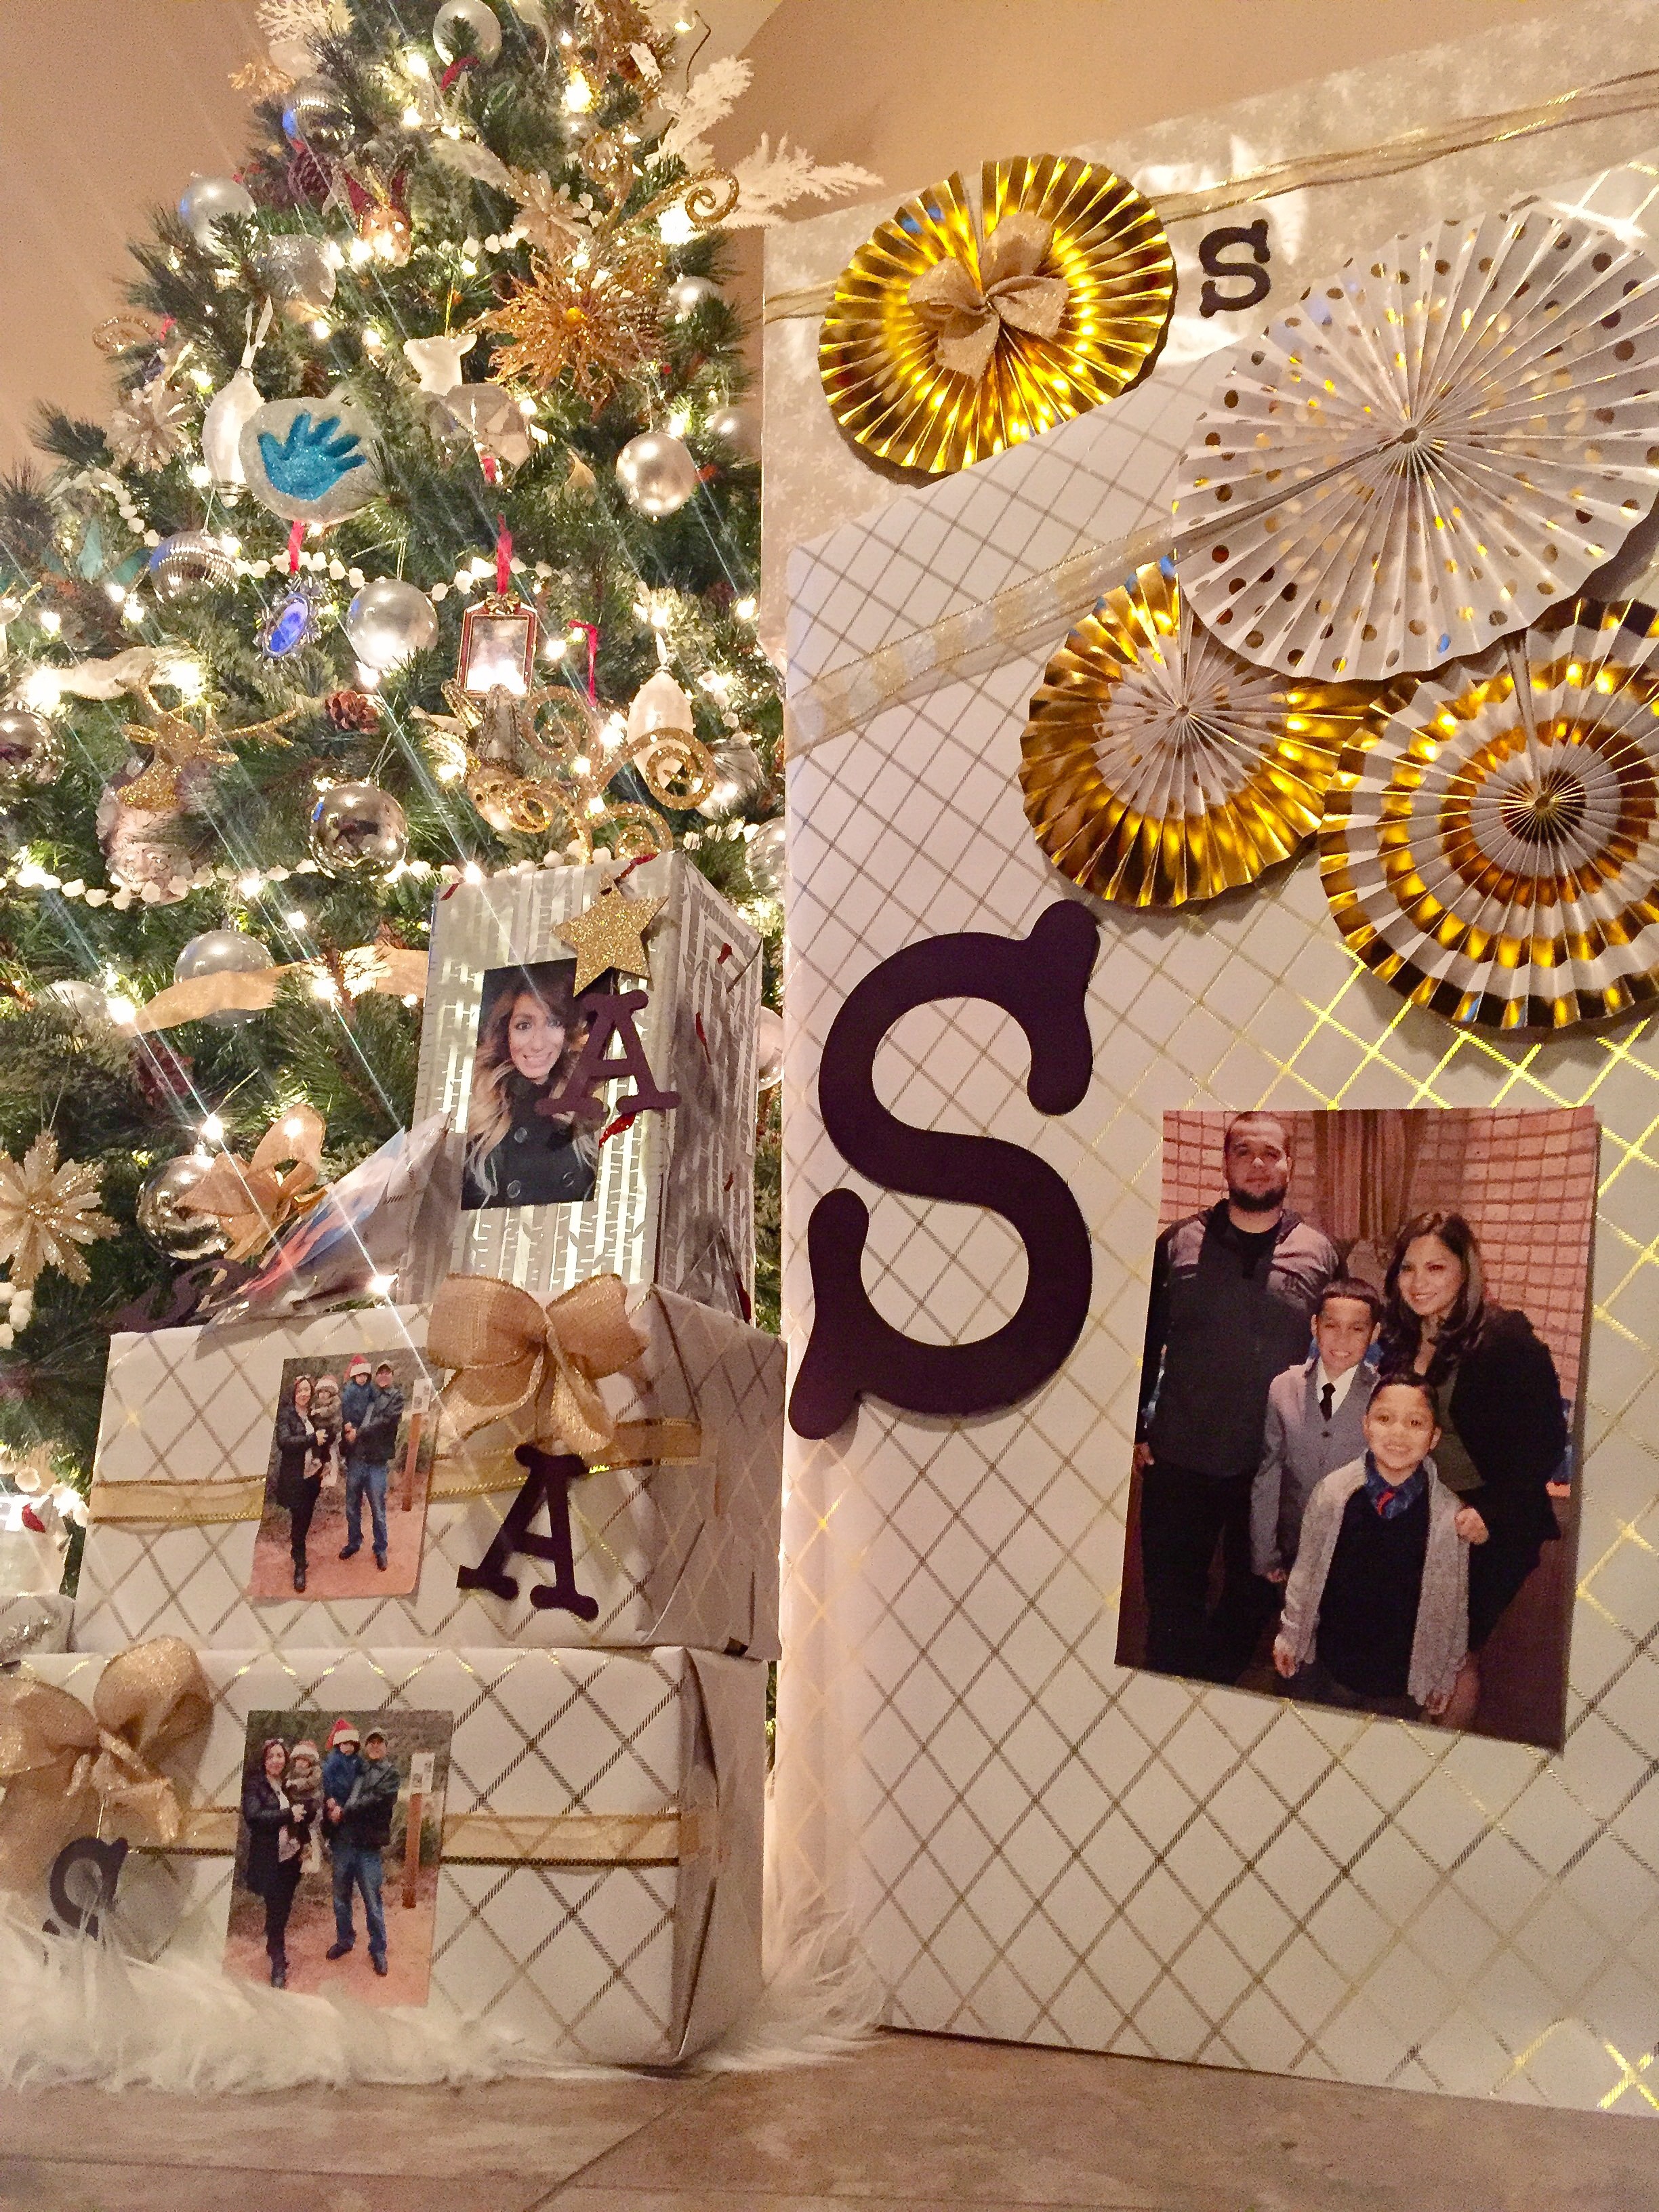
Ashwak and Sergio had a beautiful Chicago wedding that hubs and I specifically planned a trip for. I lose track of the years but Ashwak and I have easily been friends for over 15 years! Making her practically my sister! Ashwak and Sergio had a Muslim/Mexican wedding and mixed both cultures and traditions oh so beautifully! For starters, they had a pre-wedding celebration featuring a Henna Party on the Odyssey Cruise in Navy Pier, Chicago. Ashwak wore a stunning burgundy bridal Kaftan covered with embroidery beads and adorned with a matching hijab. The dinner cruise was the perfect setting for the couple to unwind, soak in the views and even capture beautiful photos; that I was lucky enough to be able to add to a wedding guestbook that I gifted them.

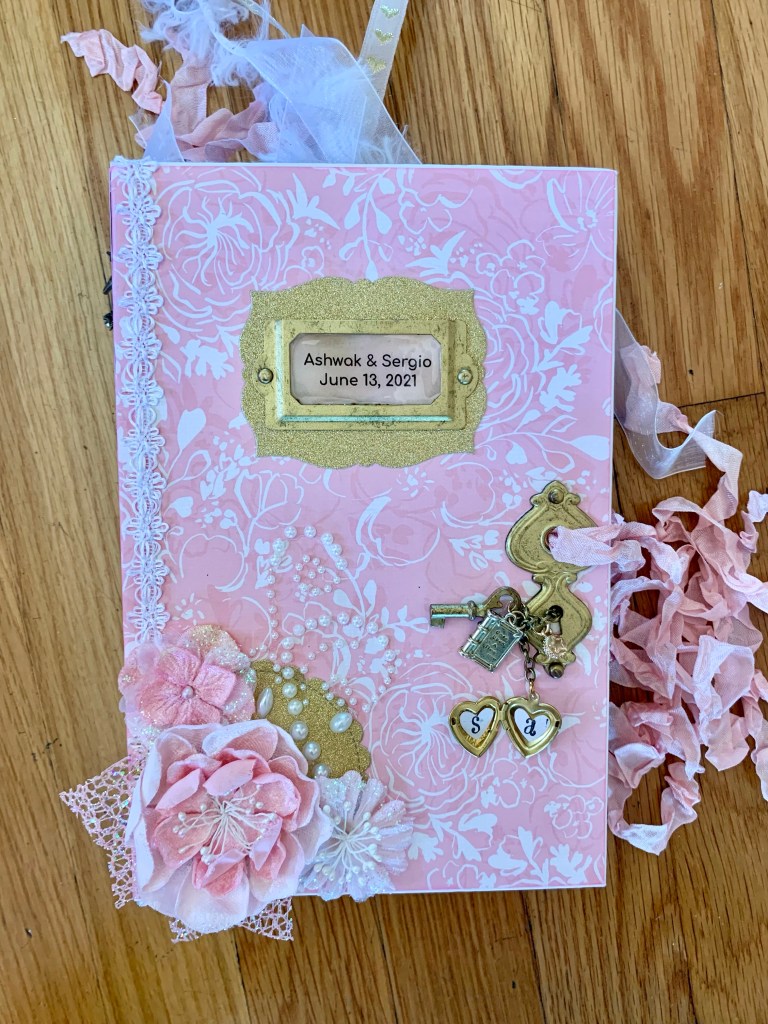
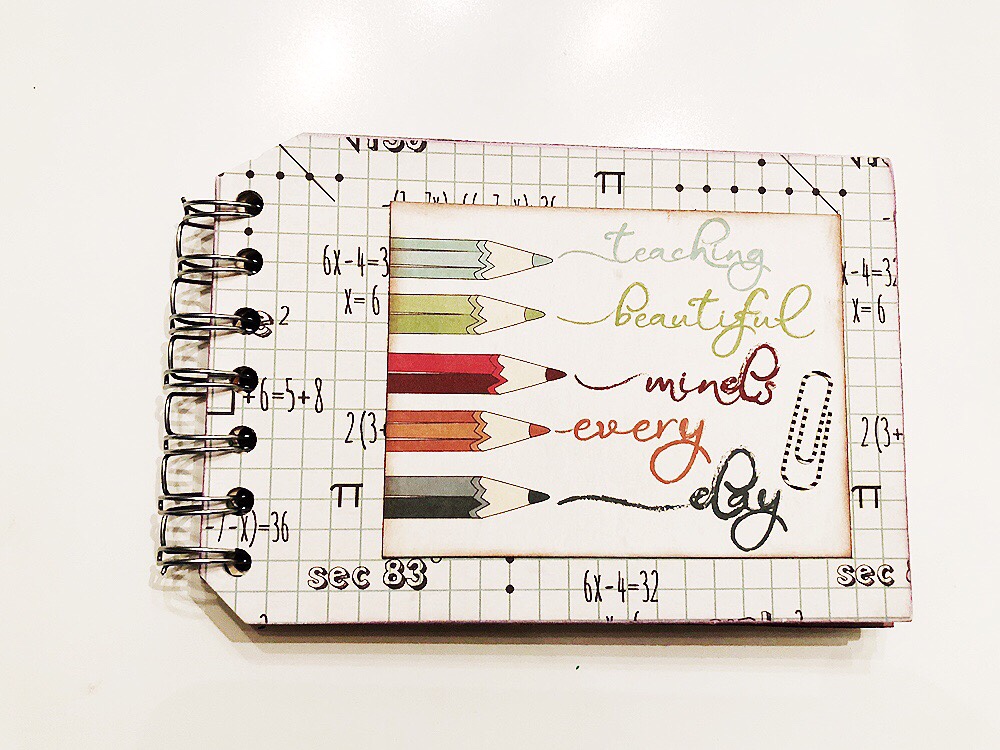
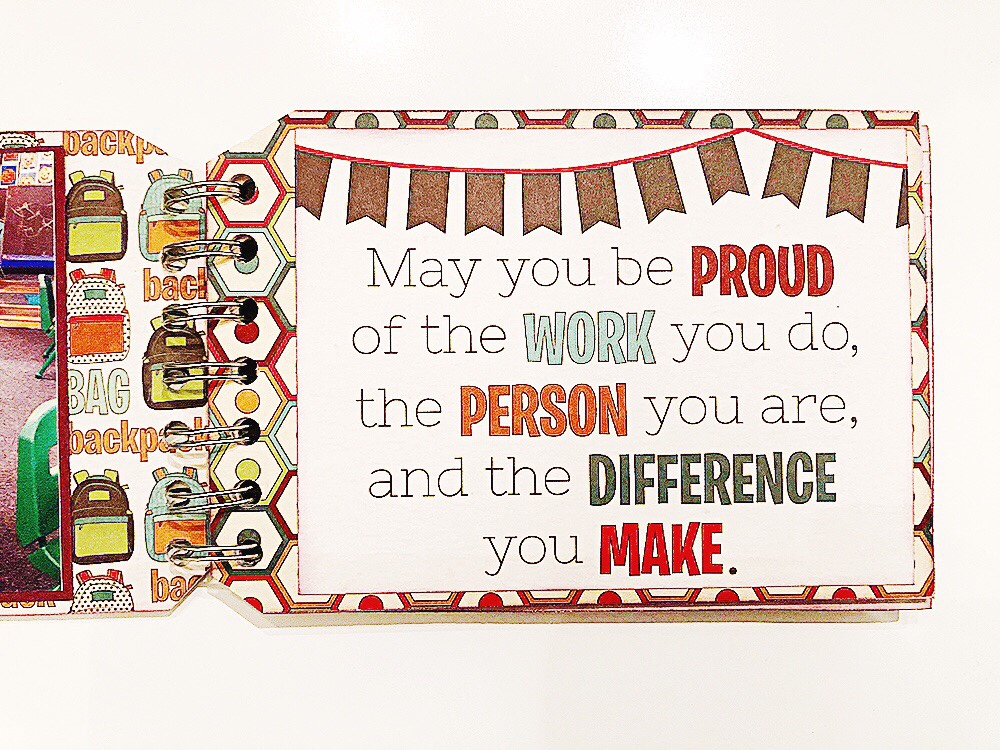
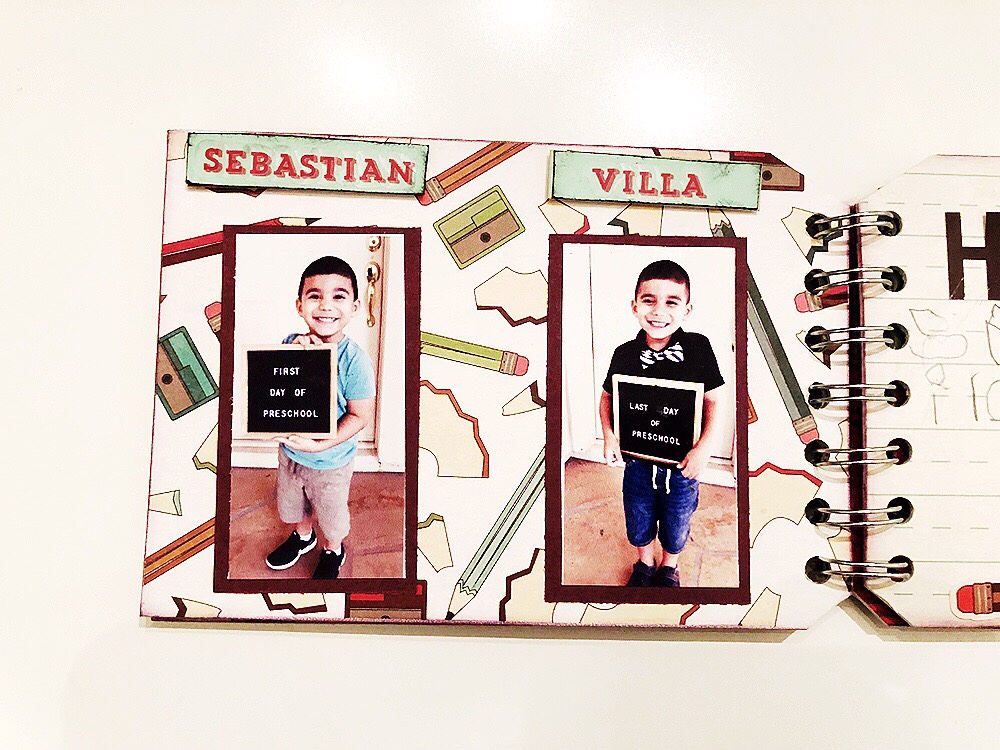
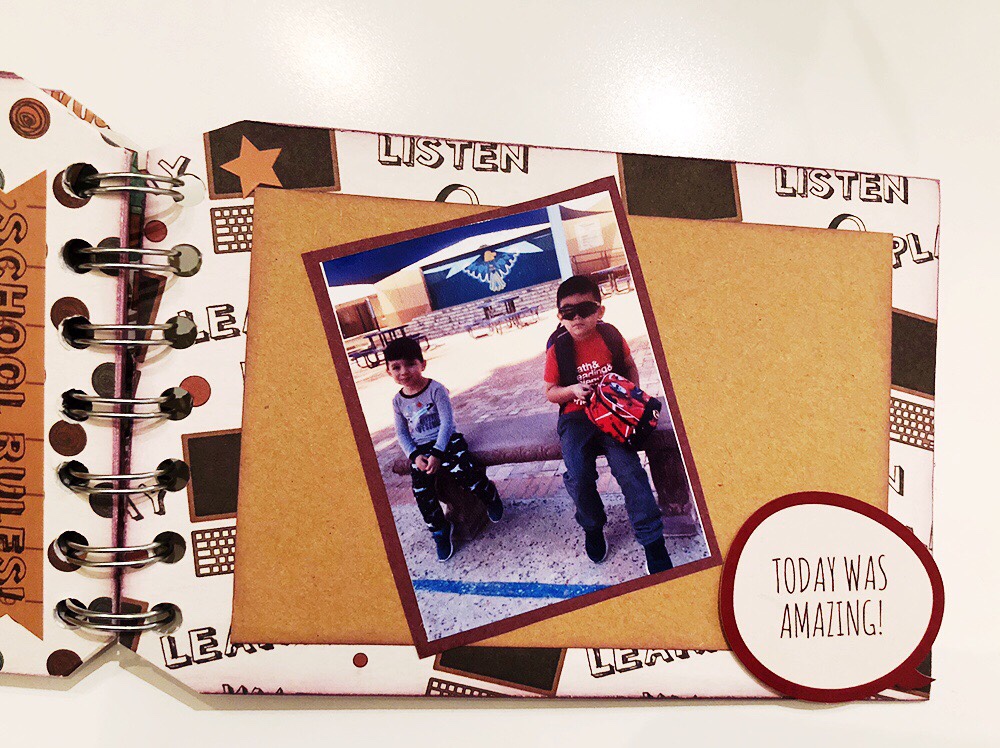
I actually purchased the guestbook from one of my favorite Etsy journal shops and simply personalized it by adding photos and embellishments. Jean at PaperJeansCo. makes the most beautiful journals and accepts plenty of custom orders. She was able to find coordinating papers to be able to create a guestbook that perfectly matched the wedding theme and colors. There was plenty of space within for journal for guests to be able to write their best wishes for the new Mr. and Mrs. I had a lot of fun creating something special for the couple and hope they love it and cherish it in the years to come!

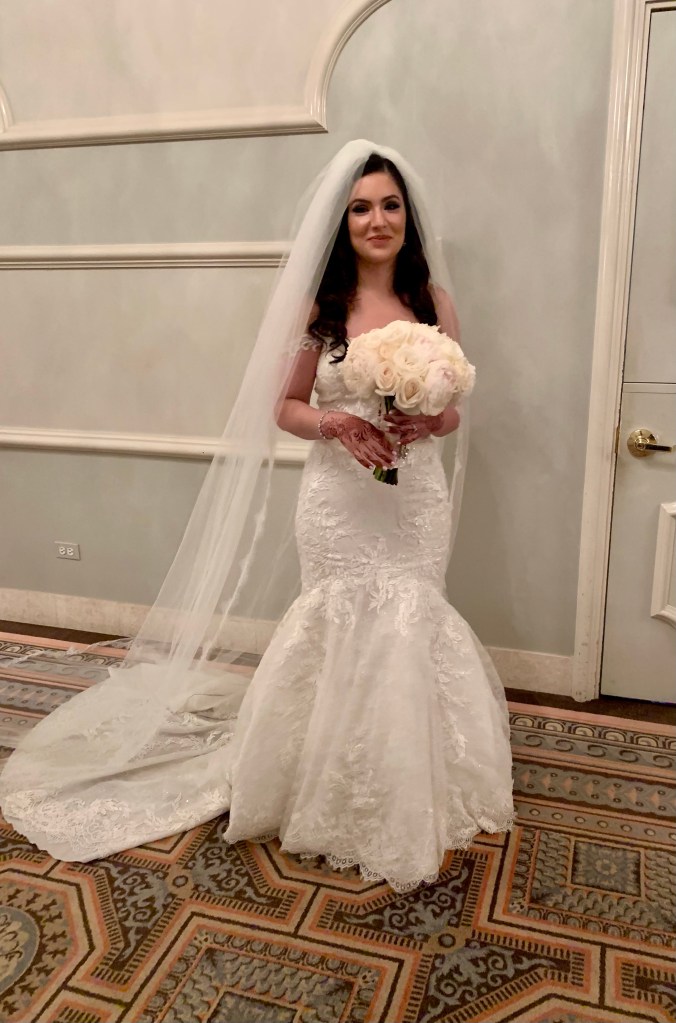
Ashwak and Sergio’s wedding was oh so beautiful! They were able to blend both cultures so smoothly. The couple had a traditional Muslim Zaffe grand entrance followed by a Mariachi ensemble during dinner. Ashwak looked absolutely flawless! I’m talking about drop dead gorgeous! It was so much fun to see both families in union celebrating the couple. The dance floor was always full, regardless of music genre.

I am so happy that I was able to be there for my besties wedding! Witnessing them together on their special day was pure tenderness in my heart. I wish them a lifetime of wedded bliss and plenty of little babies. I love you girl! Mashallah y que vivan los novios!

Love,

Mama Bear Mimi


Sarmiento Wedding Guestbook

School Mini Album

We’re already deep into our summer break but I just had to share this mini album that we gifted Sebastian’s preschool teacher on the last day of school. If you read my previous post, Sebastian – The Preschooler, you already know that we had an amazing school year and that Sebastian Bear absolutely loved his teacher, Ms. Joy!

So we purchased this little mini album from One Crafty Mess on Etsy and personalized it! It’s a great way to show appreciation and of course it’s the perfect way to preserve memories. You know me….the mamarazzi, memory keeper, journal writing, crafty nerd had to do it. HA!

See the pictures below to see how fun this came out! It was super easy to put together. I simply printed some pictures, added some stickers and journaling and VIOLA! Easy peasy lemon squeezy…like Sebastian always says!

Time to find the next album to flip. (Any HGTV fans?)

-Mama Bear Mimi-

Daddy is my Valentine Baby Photos

Rosalia is celebrating her first Valentine’s Day with the cutest message on her onesie….Daddy is my Valentine!! Yup, this year and next year and the year after that…etc… daddy will be her sweet Valentine! I’m already loving the bond they are creating and am so excited for what’s to come with them.

I’m excited for all the beautiful moments that they will share. Unique to the moments that I can give her. I have no doubt that they will be beautiful because that is the nature of our relationship as parents. Naturally I have a special bond with our kids because I’m home with them and see them all day but daddy’s bond is a unique special bond because his time at home is limited and we all cherish it to the fullest.

We had this impromptu at home photo session this morning. A cute outfit, construction paper hearts and an iPhone. Simple yet effective because the center of attention is the beautiful 6 month old Rosalia. Happy first Valentine’s Day sweet Rosie. Thank you for filling our hearts with joy.

Love,

-Mama Bear Mimi-


Rosalia Villa

6 months old


Daddy is my Valentine Onesie and romper – Amazon

Hair bow monthly subscription – Mocs and Bows


DIY – Halloween Wreath

I made my first wreath….ever! It was so much fun to make! I pin them on Pinterest all the time but have never really attempted to make one until now. I think I’m going to start making one for every occasion…you know like Christmas, Easter, birthdays, anniversaries, back to school, Sunday fundays, Taco Tuesday….yeah pretty much just any excuse to make one now. HA!

I was actually inspired to make a wreath by cousin Emma. She made a beautiful fall wreath for her home and inspiration instantly kicked in! We’re supposed to make one for Christmas together and I already have so many ideas. Can’t wait!

Everything I used for my wreath was purchased at Michaels and Dollar Tree. I chose colors that coordinate with the my home decor. Not that I have much of any decor but it’s a theme I’ll keep going with. I only spent about $30 on supplies minus a burlap bow that I already had. I know I can easily buy a completely decorated wreath for about the same price but I enjoy making things myself and being able to customize projects. There’s satisfaction and pride behind any DIY project to be able to say “Hey, I made that!”

While browsing at Michaels, I decided to use a 24 inch wreath frame and a fall garland, instead of a bouquet, as the floral substance. I felt like it would be much easier to manage the garland around the wreath and would just need to fill in the gaps with ribbon to make it look full. It worked!! Now I have to find the proper way to store it during off season but I say I nailed it.

Enjoy the process pictures below and kindly share any of your DIY wreaths and ideas with me! I’d love to see what everyone uses to decorate their front doors!

Supplies found at Michaels $22.77

Supplies found at Dollar Tree $5.44

Attach garland to wreath and cluster ribbon.

Attach clusters in between the gaps of garland.

Add any additional embellishments

Hang on your door and show it off!!

Gift wrapping “arts and crafts”

Being away from friends and family is hard, even more during the holidays. One way we try to cope with this is FaceTime. Thanks to FaceTime our boys are remembering voices and faces of our loved ones. So this year, as the mail carrier keeps dropping off packages at our home, I had to come up with a way for our boys to know who kept sending all these packages. So I decided to incorporate pictures to their gifts to help the boys understand who gifted to them. Here I go again. Coming up with more “arts and crafts” as my husband teases. Ahhh…I can’t help it! Ha. Hopefully this works and if it doesn’t well, I tried and had fun with my arts and crafts.

DIY Christmas Tree Topper

Finding the perfect tree topper for our Christmas tree this year was a true challenge. I shopped around too much in stores and online, only to later find my way packaging and returning items because they just weren’t grand enough, well at least not to my liking. I wanted something big to fill in the empty space between the top of the tree and the 9 foot ceilings at our rental. Eventually, I just gave up and decided to make my own and woohoo am I happy!

It was actually quiet easy to do once I figured out what I wanted to do. I was originally inspired by this Pinterest post and went to Michaels for inspiration. About an hour of browsing the aisles at Michaels, it finally jumped out at me. Here’s what I used and how I did it…

Supplies :

SONY DSC

Figurine/center piece of your choice.

SONY DSC

Embellishments.

SONY DSC

Floral foam used as the base and battery operated craft lights

Instructions :

SONY DSC

Attach center piece using hot glue.

SONY DSC

Add embellishments.

SONY DSC

Add craft lights and blend them with embellishments.

SONY DSC

Attach on tree, I attached it with skewers under the floral foam base.

SONY DSC

Final look!

Viola!! A customized tree topper to represent my family. I’m so in love with how it turned out and already have too many ideas on how to tweak it next year by switching the embellishments.I would love to see how you all customize your Christmas decor. Tag me or send me pictures please!

Traveling activities for kids

One of the things we love to do as a family is travel. Whether it is a weekend trip or a day trip, it is something that we enjoy doing. My boys, currently 2 years old and 10 months old, are at an age where road-tripping as a family is getting easier to do. Sebastian is such a boy and it definitely shows in his energy level. He is always on the go and seems to never get tired. I wish I knew his secret! Alexander, on the other hand, is very mellow and will fall asleep any chance he gets. Give him 5 minutes in the car and he can be out for hours!

We just recently did a San Diego Road Trip and I had to get creative to find things to keep my energetic two year old toddler busy and happy on the 6-7 hour drive from Tucson. We’ve done this drive before and we definitely struggled in keeping our toddler happy. From that, we have learned that we definitely need to get a little bit more creative and personalize his activities to things he’s into.

I decided to make a few things to make him comfortable for the drive. One being a coloring activity from an idea I got from a facebook video here and simply personalized it to my toddler’s favorite books and characters. I found free “Brown Bear, Brown Bear, What Do You See” printables while browsing on pinterest here and Paw Patrol printables here. I decided to use colored pencils instead of crayons because I did not want crayon wax all over our van and my 10 month old likes to eat crayons…sigh.

Simple supples needed

Sebastian’s current favorite books

Paw Patrol coloring pages and stickers

Shaded in the color per word

Drawing pictures per the book

Final product

The second activity is a play mat for his cars, since he loves loves loves playing with cars. I found this idea on Pinterest here. I simply printed two pages of this free printable and used a glue stick to adhere it to a piece of cardboard. We were gifted a travel tray by a friend a while ago that fits perfectly over the car seat. It was just perfect for this activity since it has edges that prevent the cars from sliding off. You can find a similar one on Amazon here.

Simple supplies needed

Final product

I am happy to say that, along with plenty of snacks and movies, these activities kept my toddler pretty happy and busy! Alex, currently at 10 months old, was easy peasy! He pretty much slept most of the time. I occasionally gave him a snack to munch on but he was pretty content most of the drive. I plan to keep these activities in our van so that we can use them anytime and if needed we can even take them with us when we dine in at restaurants. I would love to see any ideas that you all may have for traveling with kids! I am sure these activities will keep changing as my boys get older, which is excellent for me since that means more crafting!!

Chicago Bears Nails

I’m not a huge fan of sports but I am a huge fan of nails! So I got creative for the NFL season kickoff and featured the Chicago Bears with nail decals. They were very easy to apply and I had fun adding bling to my nail design because well…we can never have enough sparkle.

I wanted something simple yet fun, since I have two little ones at home, so I only added bling to two nails. I bought the nail decals on Amazon about a year ago. They are water slide decals, so they are applied similar to temporary tattoos.

These Revlon nail polishes are some of my favorites! The best thing about them – no gel lamp needed and it lasts up to two weeks just as if they were UV gel polishes. Win win!

Now that football season has officially begun, I’m prepared to lose my husband on Sundays but that doesn’t mean I can’t have fun with it too! My nails are cute and ready to represent our home team!! Go Bears!

Basketball Toddler Toy Hack

My toddler, Sebastian, received a Little Tikes Easy Score Basketball Set for Christmas and loves playing ball with it. As we were taking it out of the box I immediately noticed the awesome canvas I had on the backboard and knew that eventually I would do something fun with it. Well I finally got to deliver on that idea and featured our home team the Chicago Bulls on the backboard. It was fairly easy to do and loads of fun!


All of the supplies needed for this project can be found at any craft store. I found the Chicago Bulls sticker logo on Amazon for a very good price. For the letters,  I used my Cricut Cutting Machine to cut them out but letter stickers will work just fine. 


I painted the center of the backboard free handed, there are ridges along the edges that guided me to keep straight lines. If needed, painters tape can be used to ensure straight lines. I found it very easy to fix any mistakes with a baby wipe, we have plenty of those all over the house. I painted two coats onto the backboard, letting each coat dry over night. The first coat was done with a paint brush adding a generous amount of paint. The second coat was done with the foam brush to eliminate any paint brush marks. 


The letters were then attached using Modge Podge adhesive. I first positioned the letters with a bit of tape in order to get the correct spacing and alignment. Then I added the Modge Podge adhesive to the back of the letters using a small paint brush. I also let the letters set and dry overnight. 


And just like that this project was complete. The hardest part was preventing Sebastian from playing with it while everything dried. He may not have noticed any changes to his basketball hoop but this mama had lots of fun hacking it!  My baby boys don’t even know it yet but they are getting a head start to becoming Chicago sports fans! 

Crochet Football Bearded Helmet – Chicago Bears

Crochet Bearded Football Helmet

I can’t get enough of how cute these crochet helmets are! Being miles away from my home town Chicago, I don’t always get to find the fun Chicago gear that I would normally find in almost every store. That’s why I was super excited to work on this project. I found it on Pinterest and had to figure out a way to make it featuring our Chicago Bears.

I started by making the helmet, using 5 Little Monsters free pattern found here. The pattern can be found in several different sizes. I decided to use the pattern for 6-12 months and decided not add the circles in the ear flaps since I planned to add the beard to the helmet.

Crochet Chicago Bears Football Helmet

I then did the beard using Ashlee Marie’s free pattern found here. She includes different sizes as well. I used the extra small pattern for my 3 month old baby boy pictured.
Crochet Beard

Originally, I attached the beard to the helmet but my little one kept trying to eat the beard (HA) so I thought it would be nice to be able to remove the beard once in a while and still use the helmet. So, I added buttons to the inside ear flaps to easily remove and attach the beard.

Crochet Football Helmet

I then found several patterns for the letter “C” but couldn’t find the right one to resemble the Chicago Bears logo. So I played around a little and finally came up with something that may work. I’ve included the pattern below. I’m sure it will motivate me for future crochet projects.

Chicago Bears Logo

Using M hook

Using orange yarn for the letter “C”

Chain 16

2 hdc on 2nd chain from hook, 2hdc in next stitch, hdc, 2hdc each in the next 3 stitches, hdc in the next 2 stitches, 2 hdc each in the next 3 stitches, hdc, 2hdc each in the last 2 stitches. (24 stitches) Fasten off

Using white yarn for the edging around the letter “C”

Sl where you finished off

Sc in the same stitch as sl, sc in the next 10, 2hdc in the next 2 stitches, sc all the way around, fasten off.

Free Pattern - Crochet  Football Helmet

I had a lot of fun creating these for my boys and hope to continue making them as they grow. Unfortunately, my almost 2 year old toddler doesn’t like to wear hats and wasn’t having it but I’m sure eventually they will all be wearing them while they cheer for our team or even as they play a little defense against their dad. Ohhh what a great sight that would be.

Hope you enjoy these patterns and please share your creations with me. I would love to see what you all come up with.
DIY Crochet  Helmet

Crochet baby helmet  Bearded Football Helmet - Crochet
crochet baby foodball helmet  crochet football helmetAlexander Villa – 3 months old